Properly ironing a shirt is an art form. That’s why you are always better off having it ironed professionally.
Unless, of course, you need your shirt ironed RIGHT NOW…
Here is how to iron your own shirt when you find yourself having no choice but to do it yourself.
Prepare the shirt
1. Start with a freshly laundered shirt
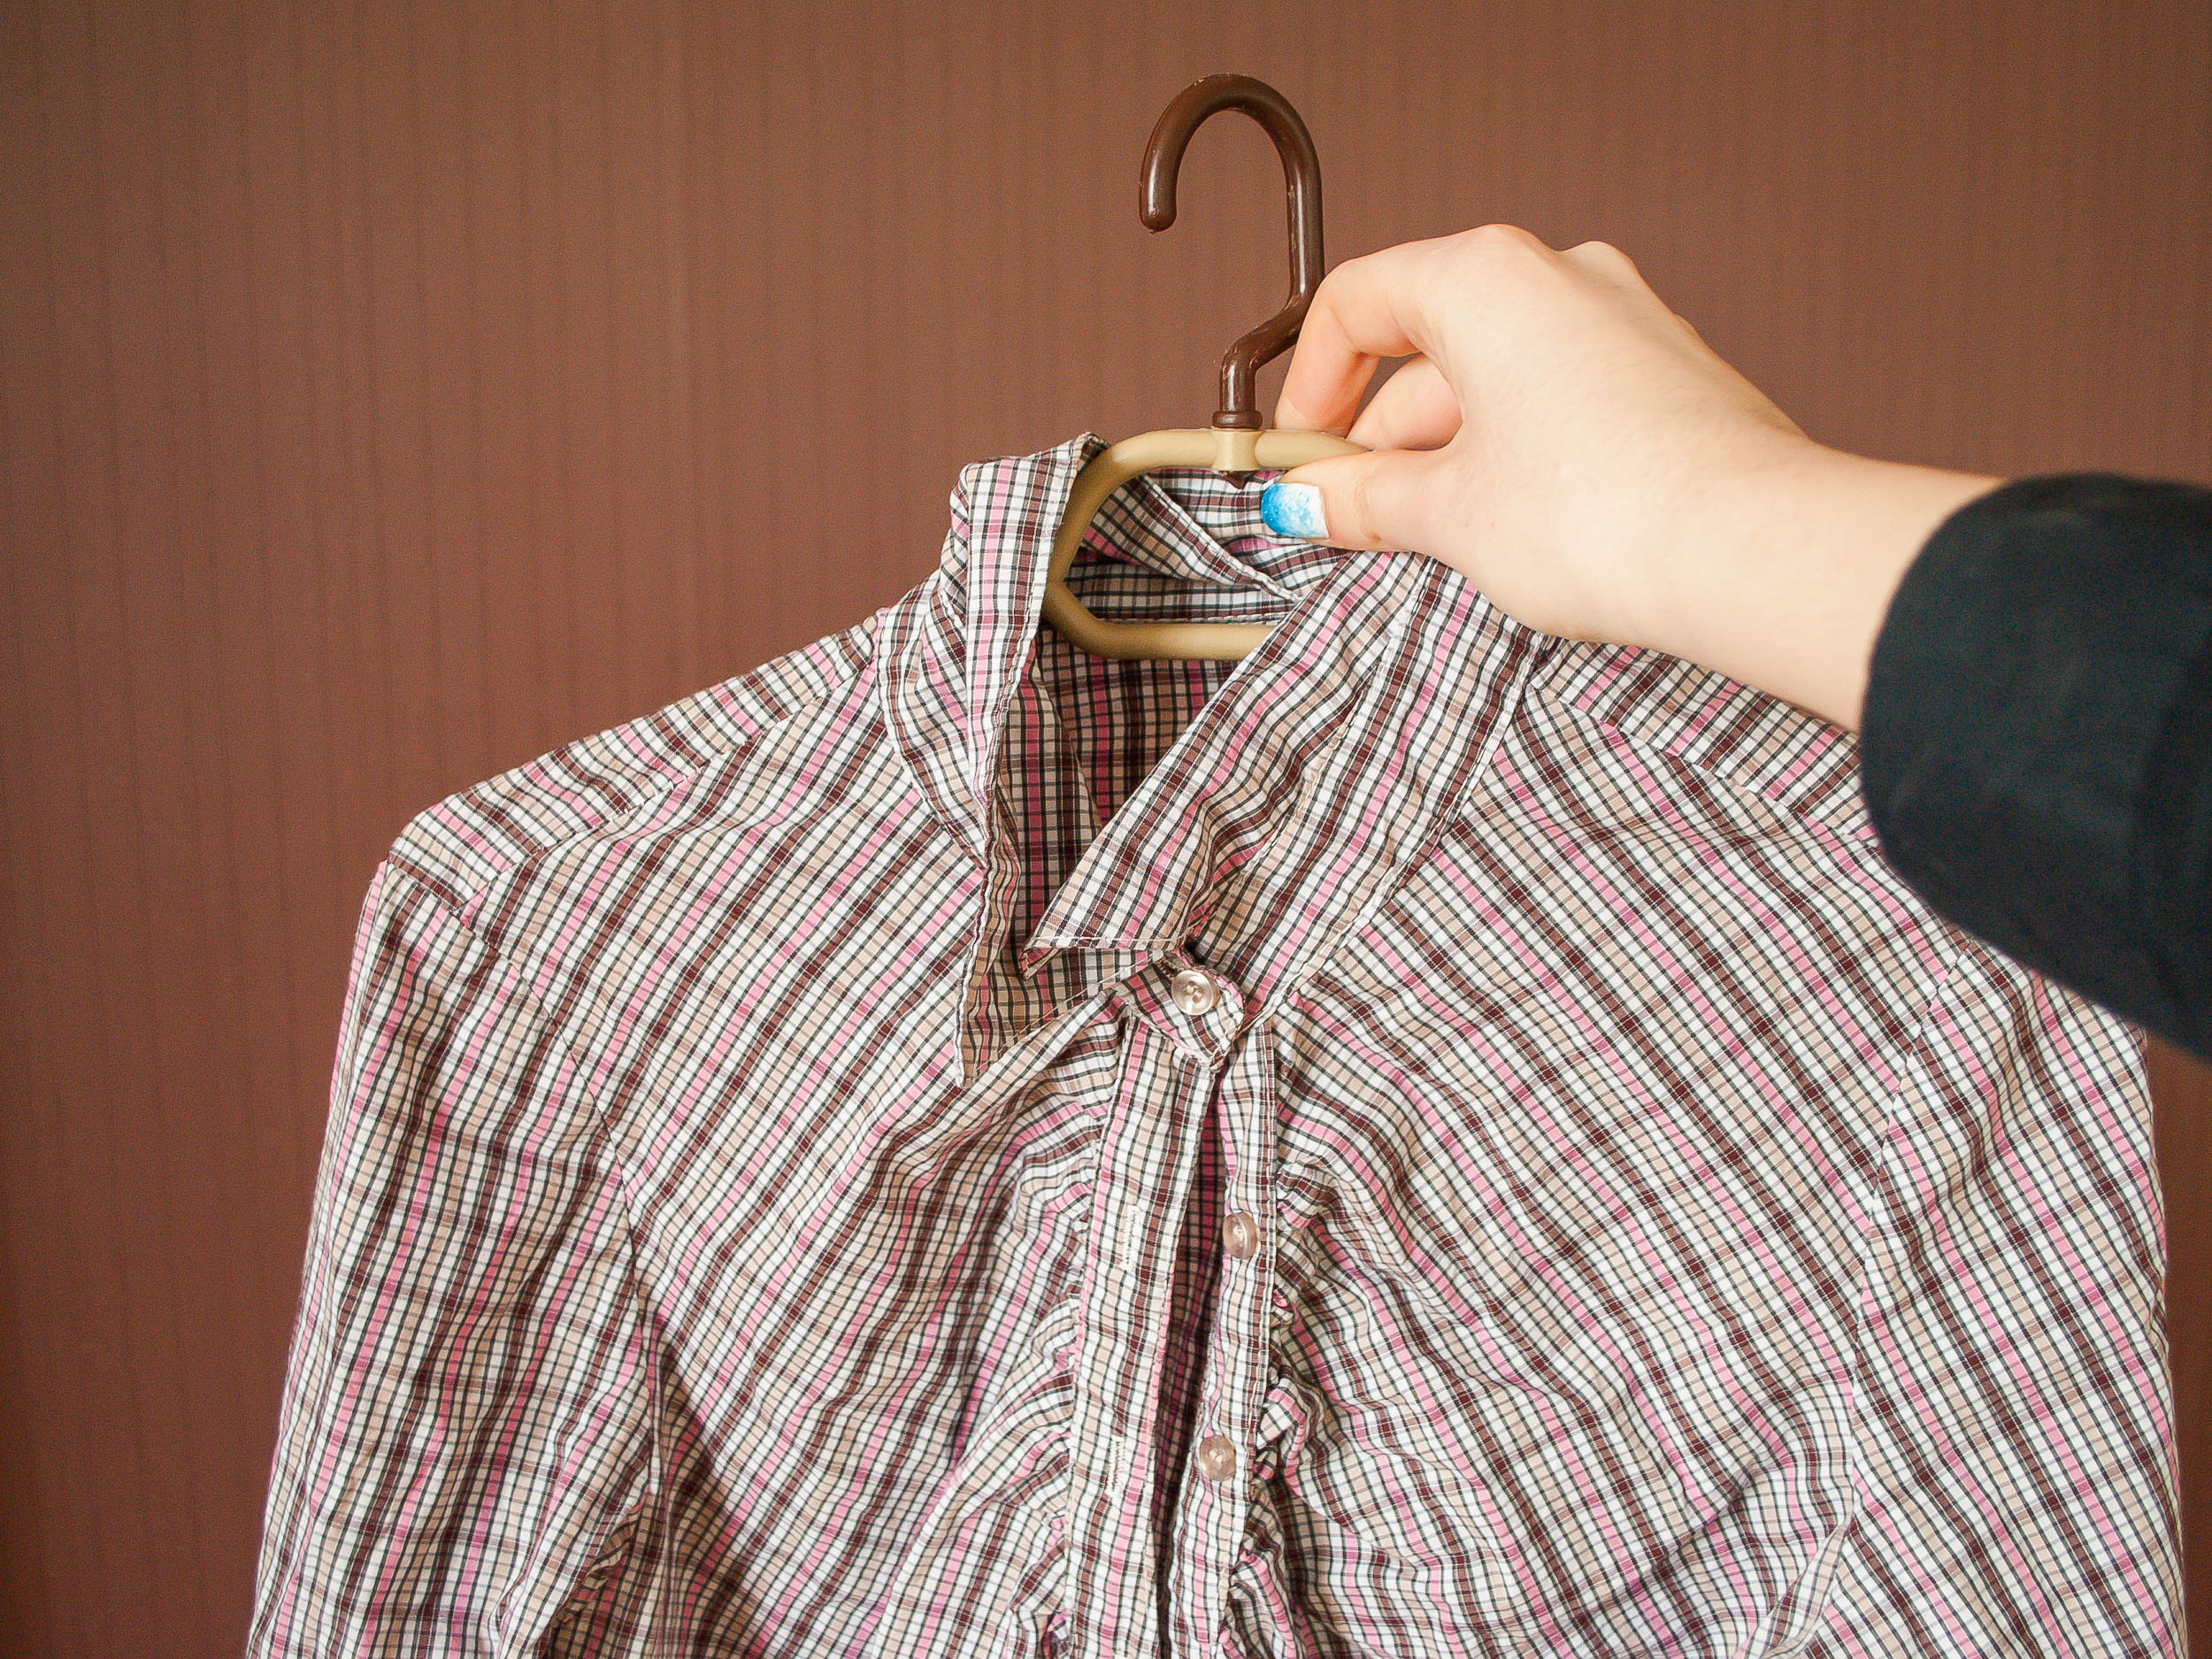
Upon removing your shirt from the dryer, shake it a couple of times and then smooth out the wrinkles as best you can with your hands. Hang it on a shirt hanger and button the top button.
2. Fill your iron with good water
If possible, fill your iron with good, clean water: bottled, distilled, Brita, whatever… It’s better than tap water because tap water contains trace amounts of minerals that build up in your iron over time. Has your iron ever spit too much water out? That’s because it’s clogged…
3. Allow your iron to reach the proper temperature
Have you ever put a cake in the oven before preheating it to the recommended temperature? It never ends well… The same is true for your clothing. That said, too hot and you could damage your clothing. For example, a shirt that is “wrinkle free” better handles less heat than cotton, which takes higher heat to smooth out.
4. Prepare a place to hang the items
If you’re ironing more than one item, it’s nice to do some preparation in terms of where to hang or fold the items after they are ironed. There is no sense in placing freshly-ironed items in a pile on your futon. 😉
5. Spray your shirt with a little starch
Just do it. You’ll love how it looks and feels.
Time to iron
1. Start with the collar
Open the shirt collar and lay it flat on the ironing board, face down, and press with the tempered iron. Start from the points of the collar and work your way to the middle. Turn over and do the other side.
2. Press the yoke and shoulders
What’s the yoke, you ask? It’s the upper back of the shirt, underneath the collar. In order to press the yoke, insert the pointier end of the ironing board into the shirt and into the sleeve. Press with the iron, and when you’ve pressed that side, turn the shirt over and do the other side. That’s a little trick! Your shirt will look better if you iron BOTH SIDES, which most people don’t ever think to do.
3. If it’s a long sleeve shirt, press the cuffs next
Just like the collar, press the cuffs next. And don’t forget: Both sides!!
4. Now, the sleeves
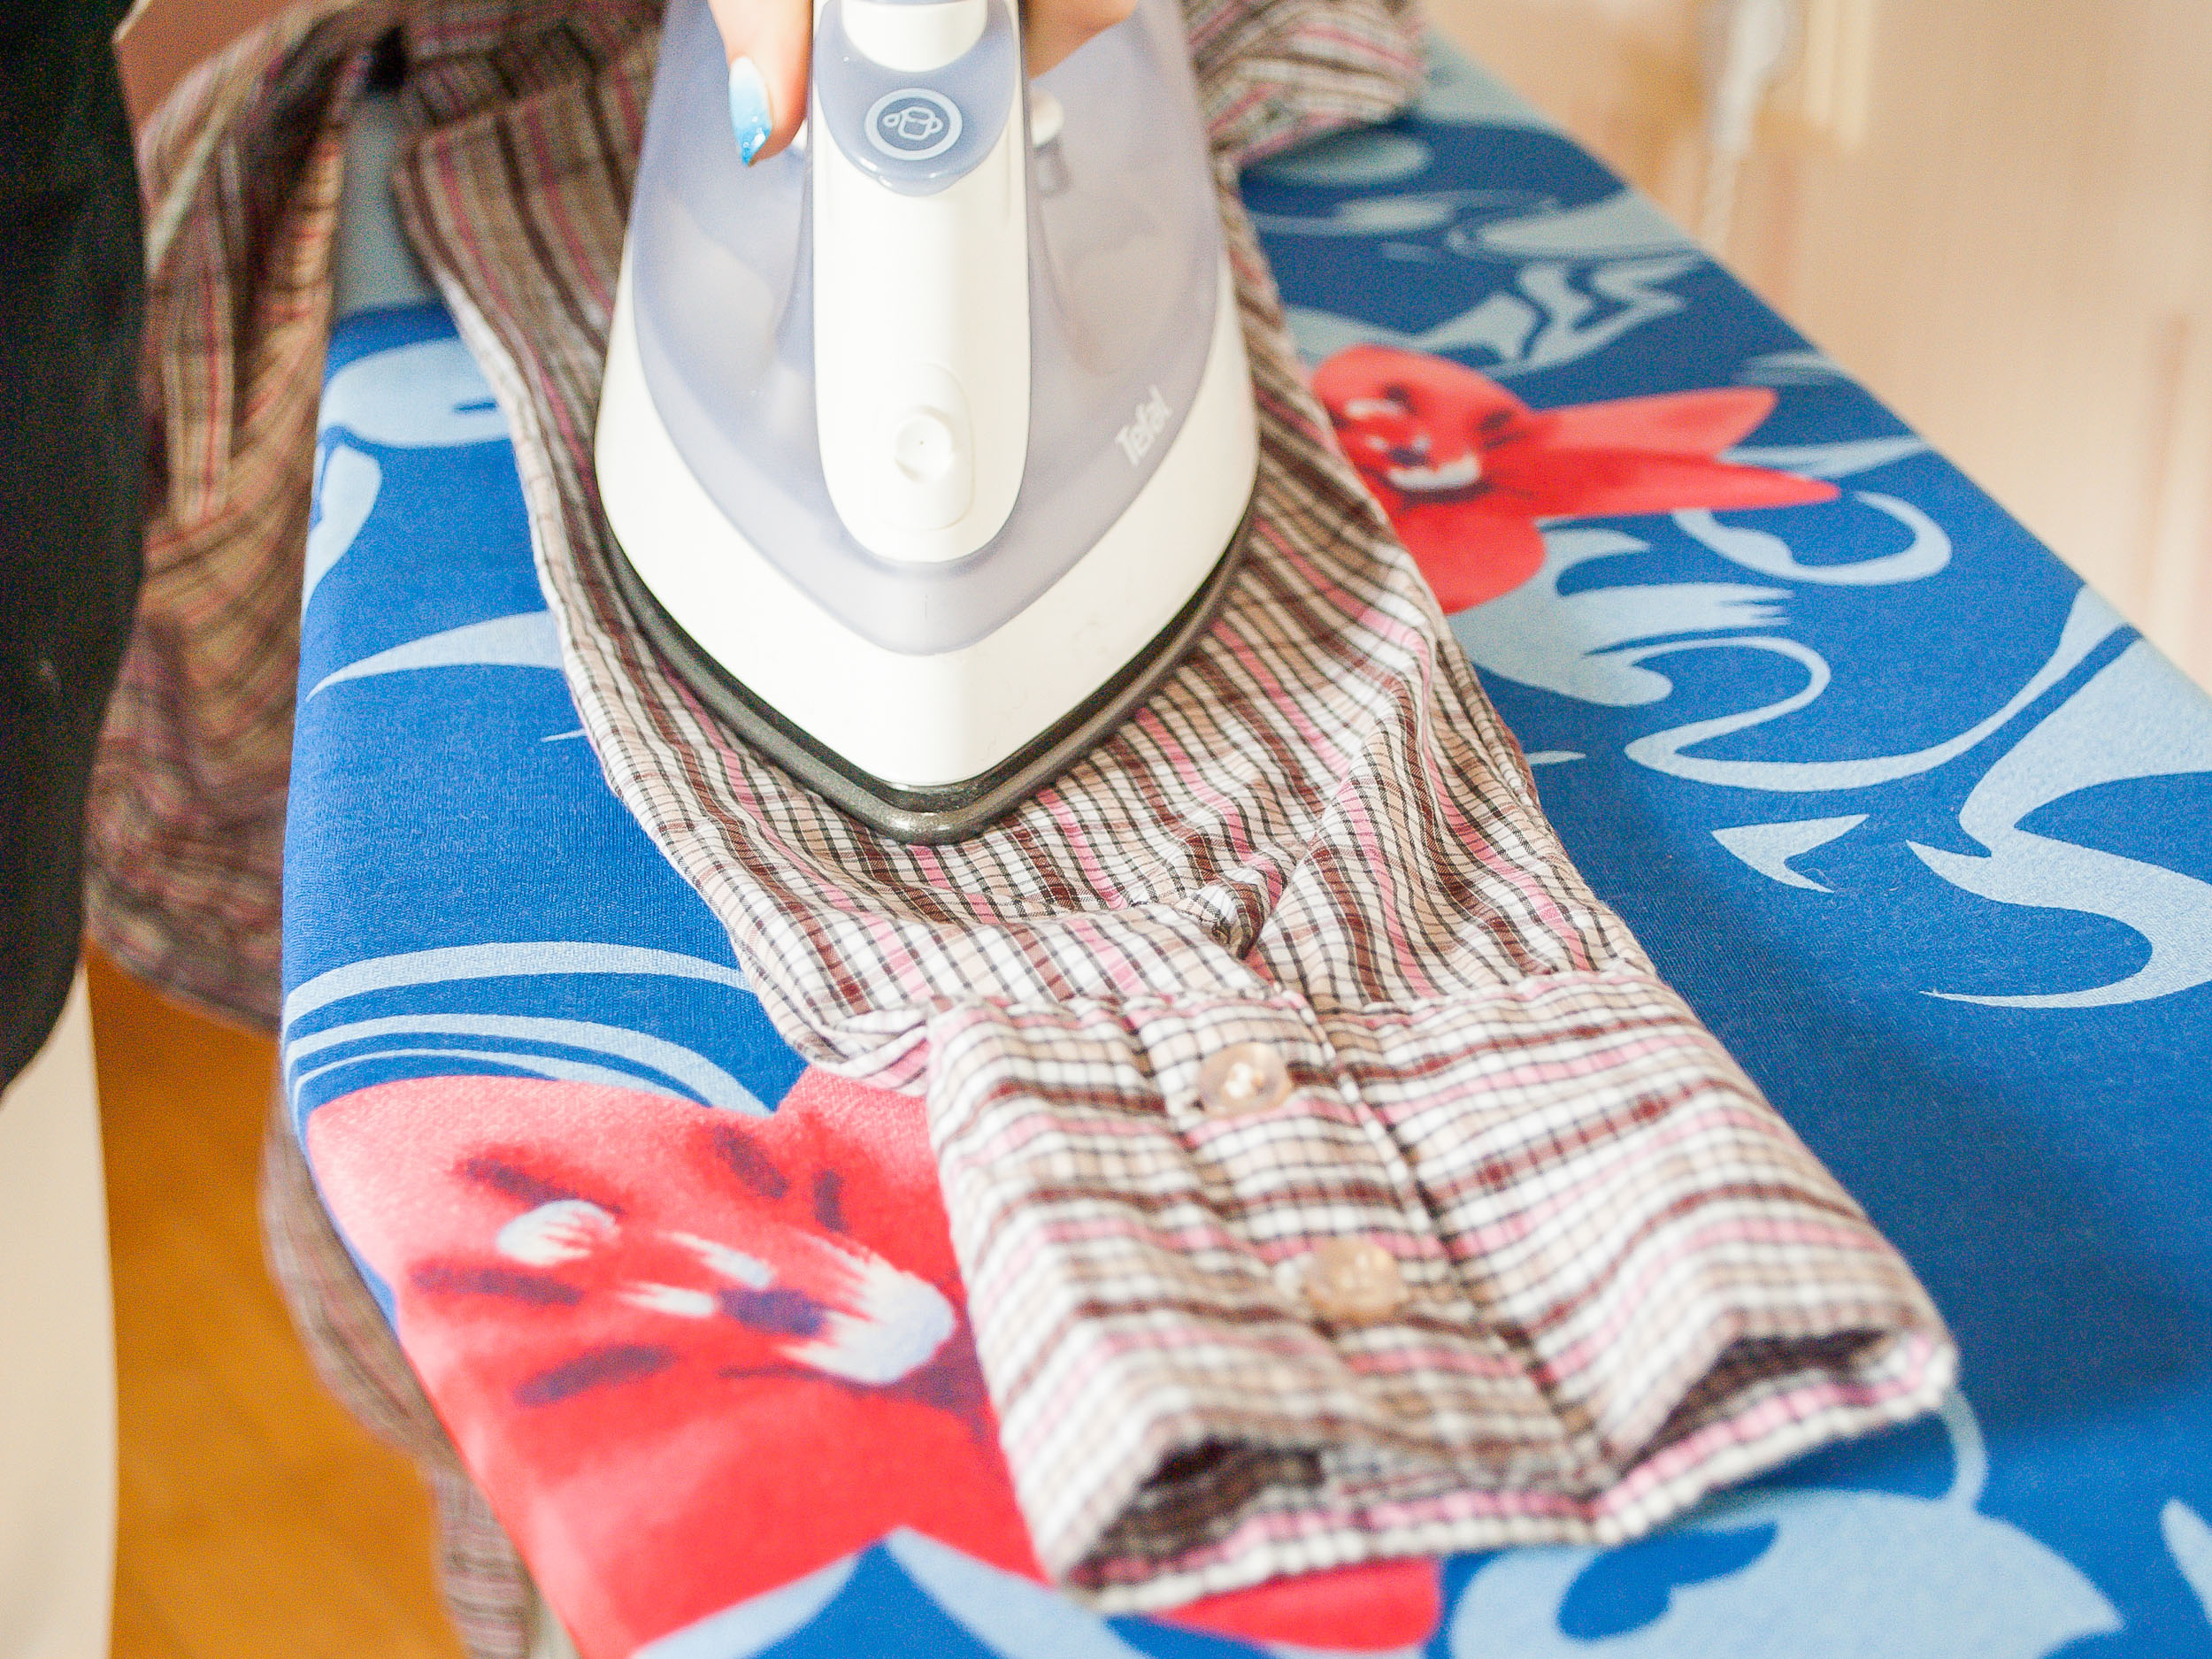
Lay the sleeves flat, following the bottom seam as a guide. Make sure both layers flatten and move to avoid ironing in more creases. Do the other sleeve, then turn the shirt over and do the same thing on the other side.
5. Iron the back of your shirt
Placing the shirt face down with the collar toward the square end of the ironing board, flatten the shirt out and press with the iron. Remember to turn the shirt over and do the same thing on the inside of the back of the shirt. Make sure to reposition the shirt to iron the entire back panel of the shirt, turning the shirt over to iron both sides.
6. Iron the front of your shirt
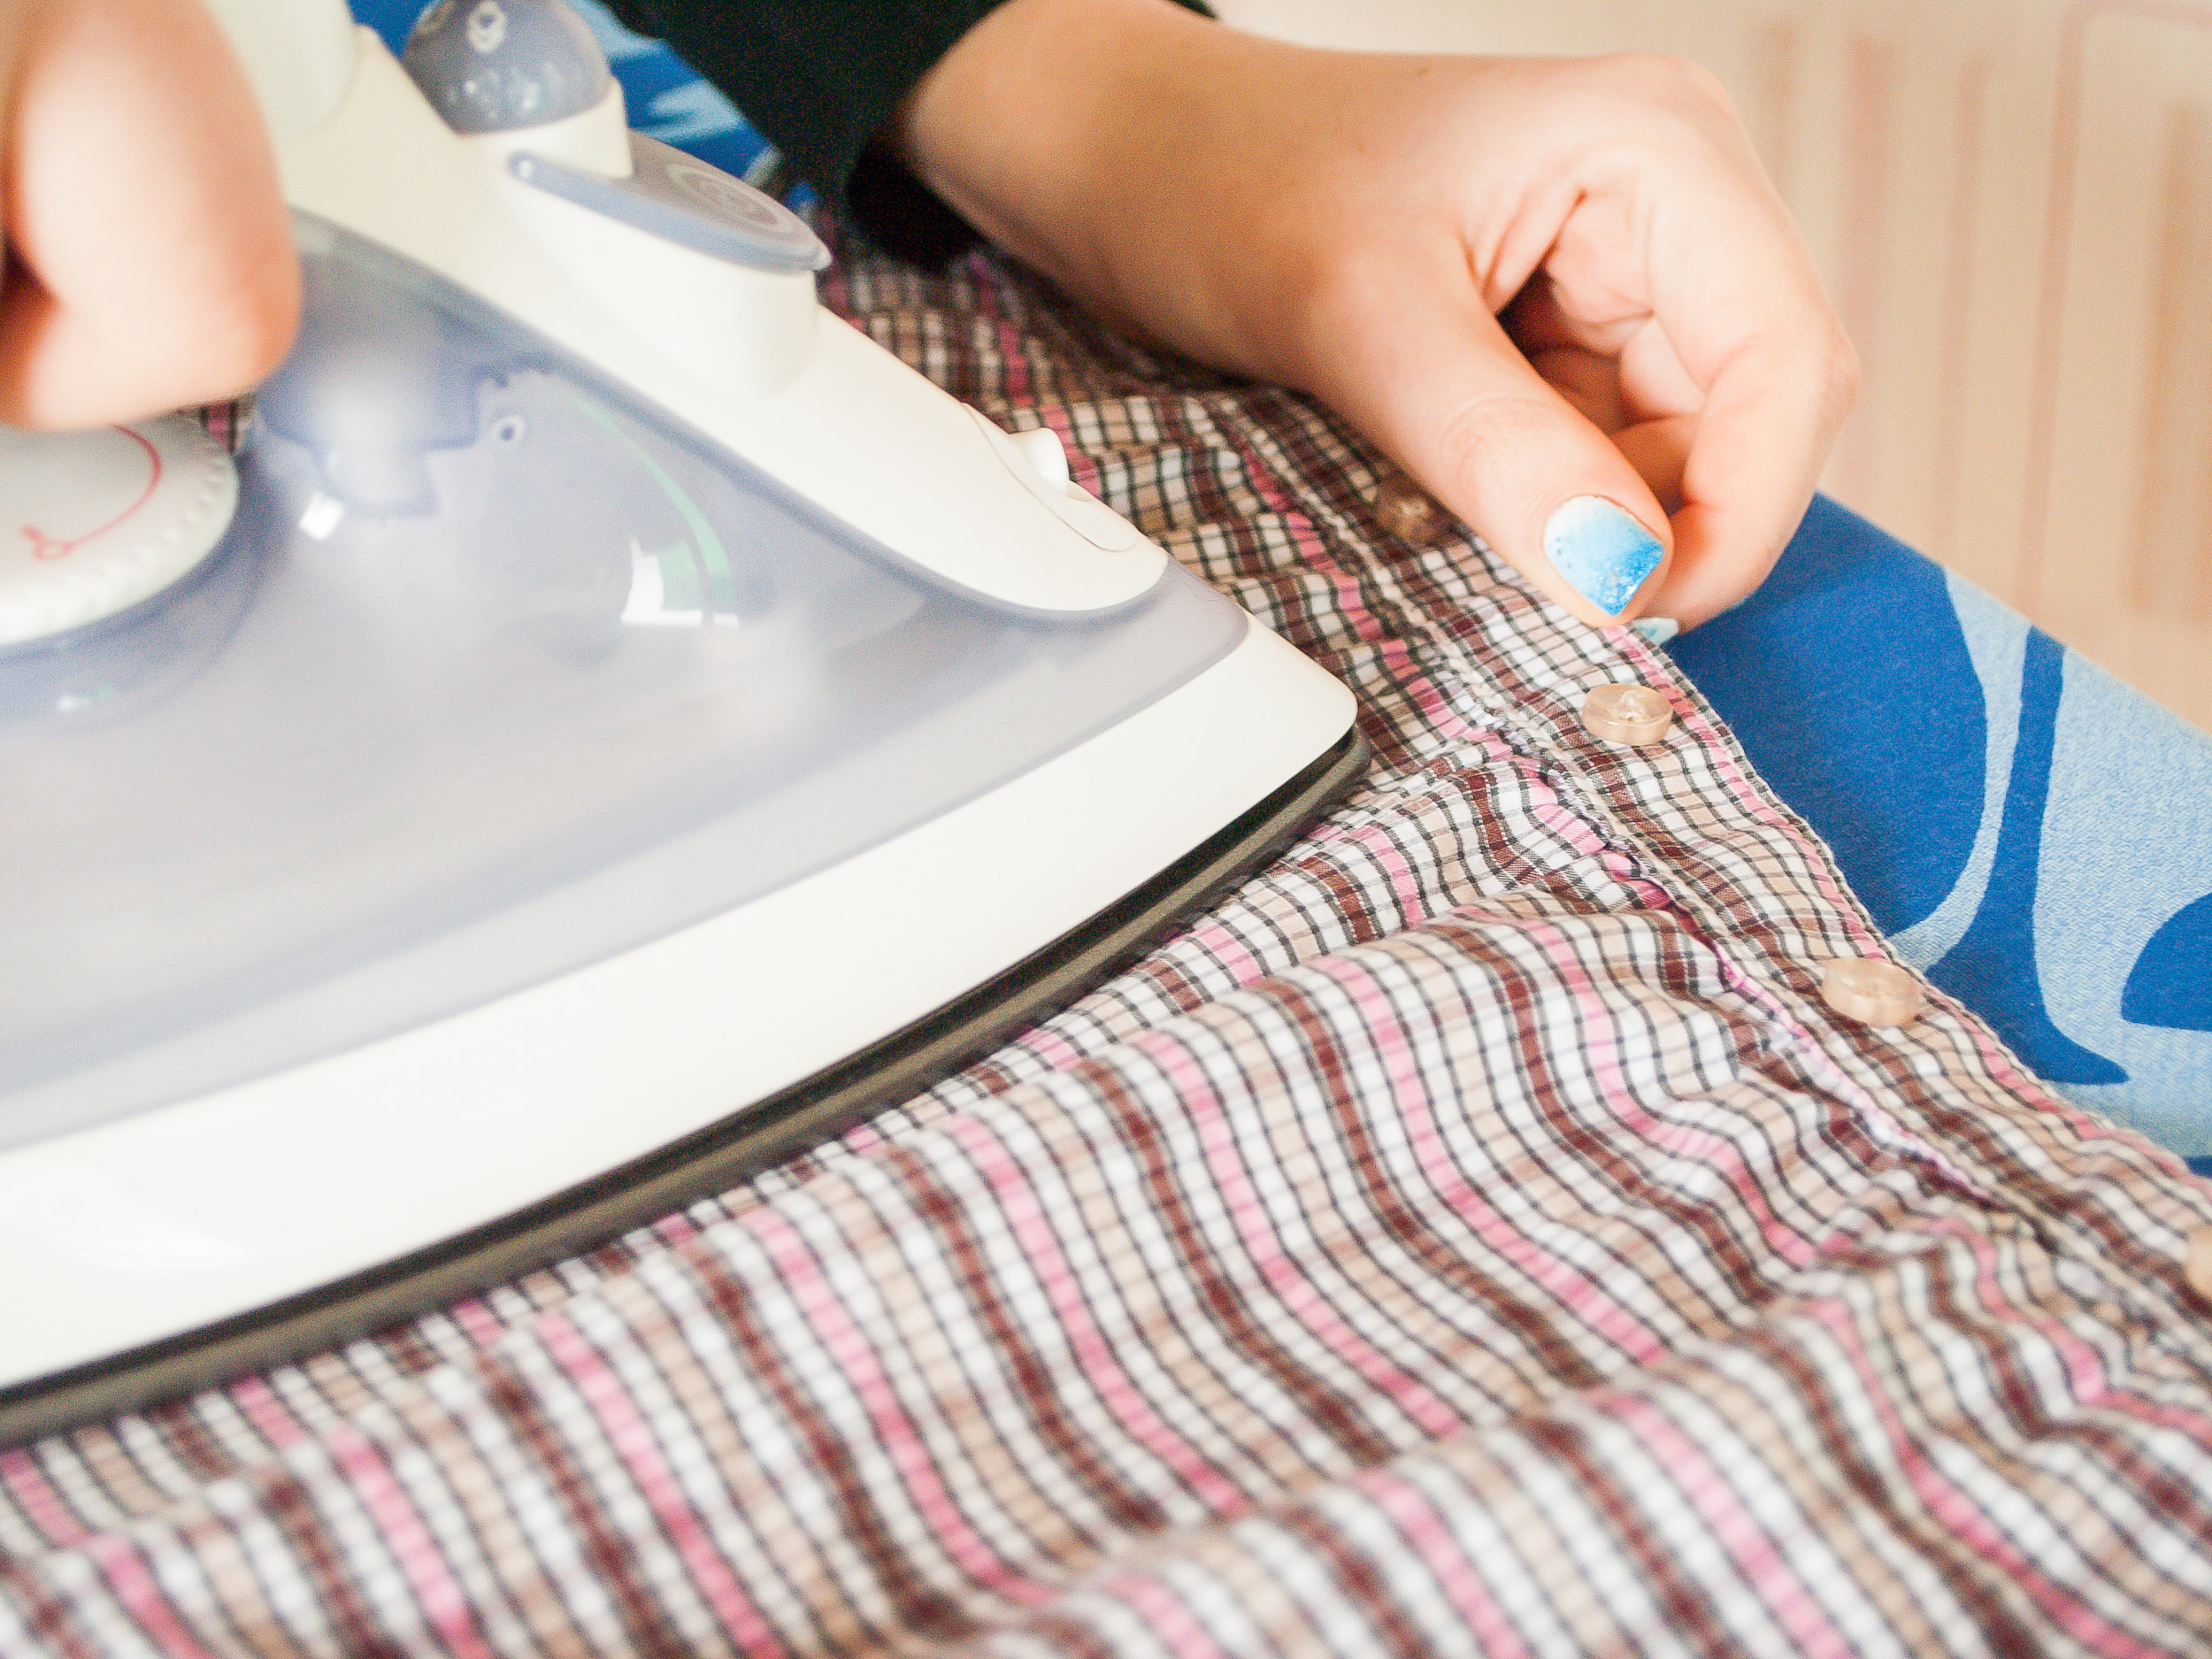
Reposition the shirt again so the front panel where the buttons are found can be ironed. Move in between the buttons carefully so as not to damage the clothing. Remember to turn the shirt over to iron both sides, and pay careful attention to the buttons so as not to damage the threading.
7. Put the shirt on a hanger
Unless you’re putting the shirt directly on your body (which we recommend because the warmth of the shirt feels fantastic), put the shirt on a hanger. Button the top button and third button down to keep it secure.
We hope this post about ironing your shirt was helpful. Stay tuned for the best way to iron your t-shirt!!
And remember, if you haven’t procrastinated and waited until the last minute to get your outfit together, let us do the laundering and ironing. We are really, REALLY good at it!! =)
(Photos courtesy of wikihow)


